The goal of this tutorial is to model a Möbius strip with Blender.
Blender version used to write this tutorial (cf status bar):
2.93.3
***
Conventions:
Keyboard keys and mouse buttons are delimited by '[' and ']'.
Paths in the user interface use '>' as a separator.
Some examples:
[A]: 'A' key.
[Num .]: '.' on the numeric keypad.
[LMB]: Left Mouse Button.
[MMB]: Middle Mouse Button (you can click the mouse wheel!).
[RMB]: Right Mouse Button.
[Shift]+[LMB]: hold down Shift and click with the Left Mouse Button.
File > Save: "File" menu, then "Save" menu item.
First of all, delete the default cube (already selected, orange outline):
[Del]
To add a Bezier Circle, choose in the 3D Viewport menu:
Add > Curve > Circle
Switch to Top view:
[Num 7]
Zoom on the selection (the circle):
[Num .]
Switch to Edit Mode:
[Tab]
To open this closed curve, choose in the 3D Viewport menu:
Curve > Toggle Cyclic
The quarter circle linking the last control point to the first disappears, but the remaining shape is modified... It would be easy to correct, but let's rather see how to avoid this modification.
Cancel the last action, so as to come back to the closed curve:
[Ctrl]+[Z]
The solution is, before opening the curve, to change the type of the first and last control points.
Currently the 4 control points are selected. In order to select only the first (located at 9 o'clock on the circle):
[LMB]
Add the last control point (located at 6 o'clock on the circle) to the selection:
[Shift]+[LMB]
Change the type of the 2 selected control points:
Control Points > Set Handle Type > Toggle Free/Align
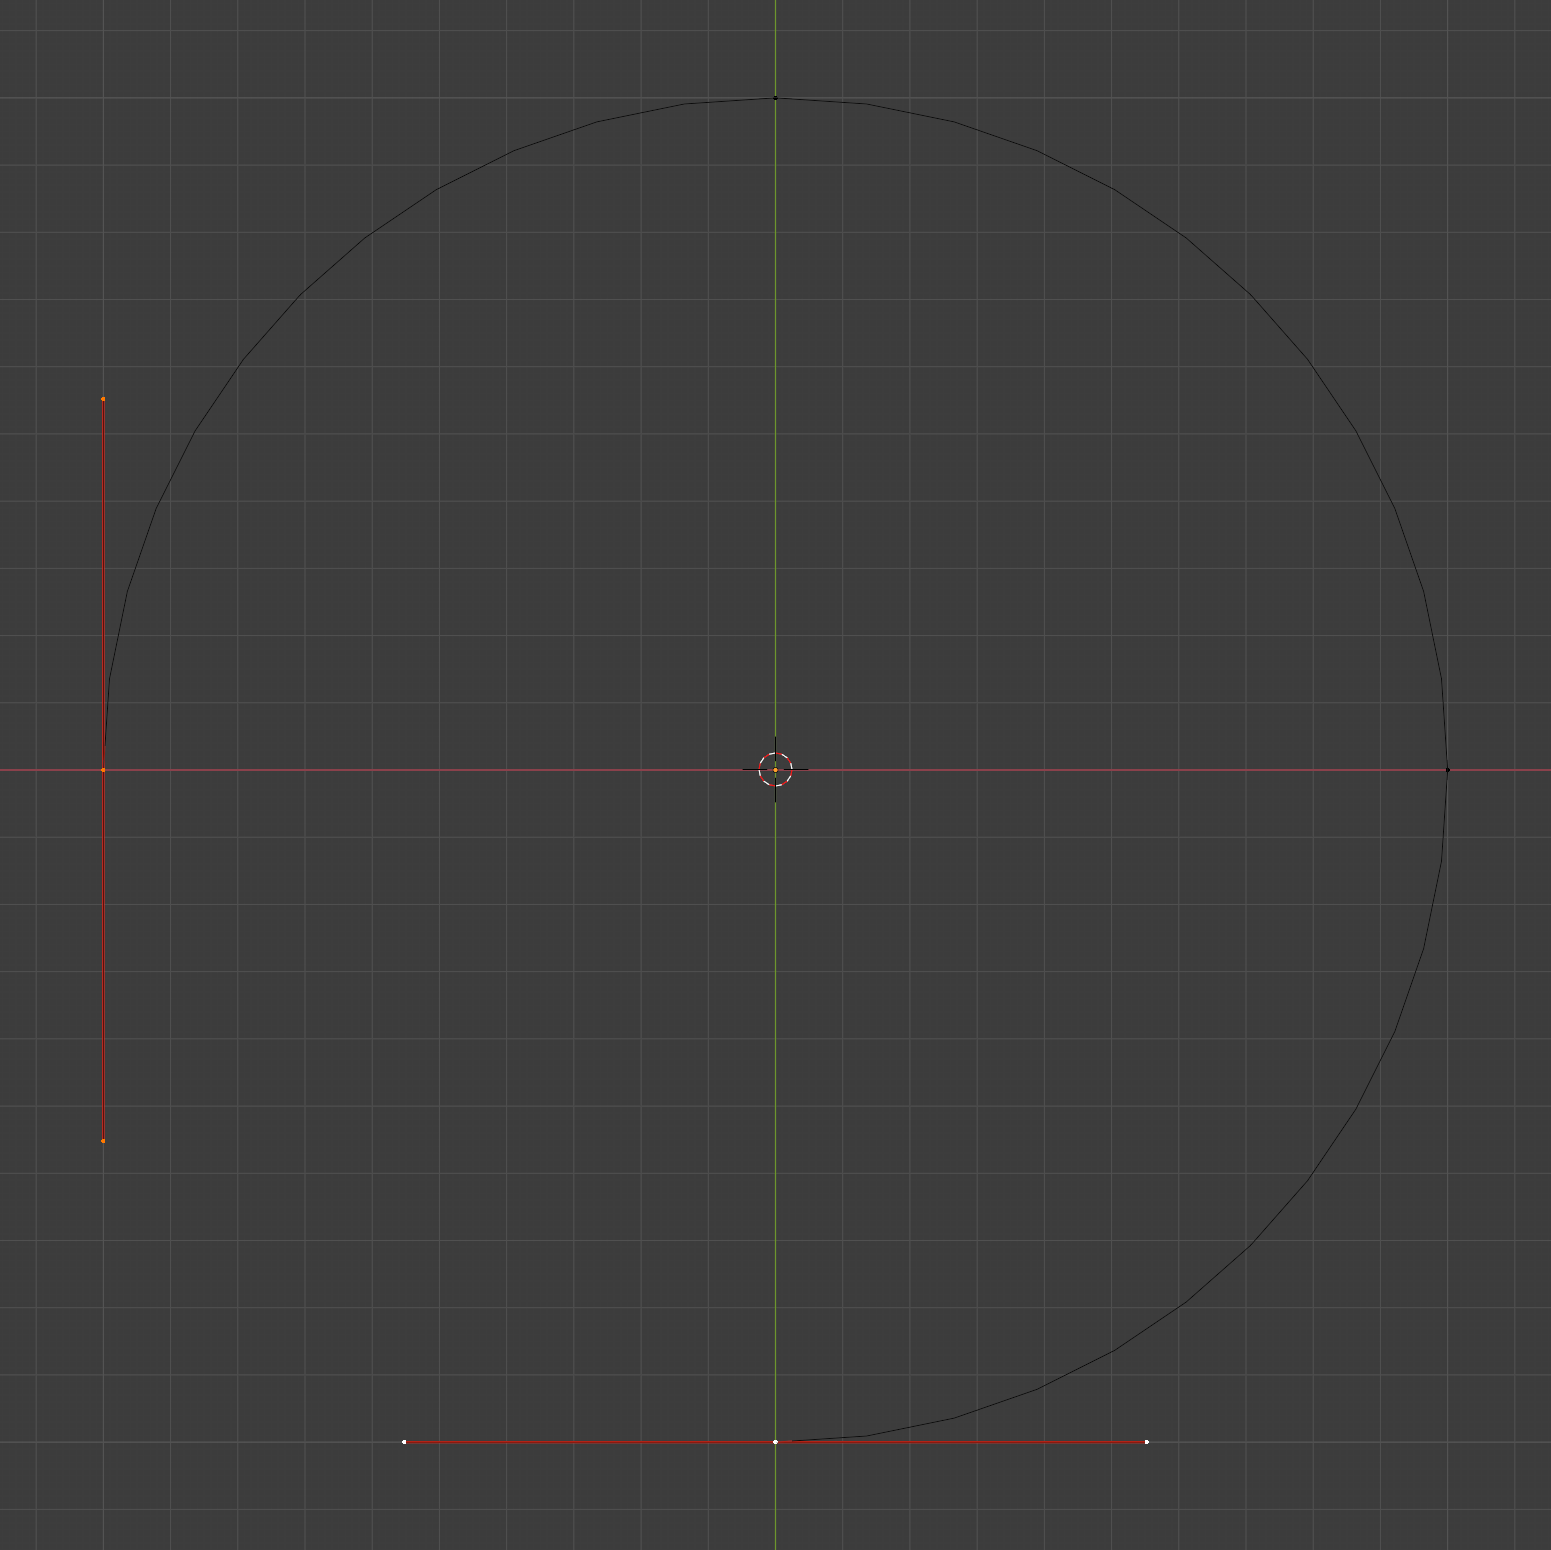
The yellow tangents become red.
Open the curve:
Curve > Toggle Cyclic
This time the remaining shape is not modified:
Now we're going to duplicate the first control point (located at 9 o'clock on the circle).
To make it the only one selected, click:
[LMB]
To duplicate it, use:
[Shift]+[D],
then confirm the position, without moving the mouse:
[Enter]
Thus this new control point is at the same position as the first.
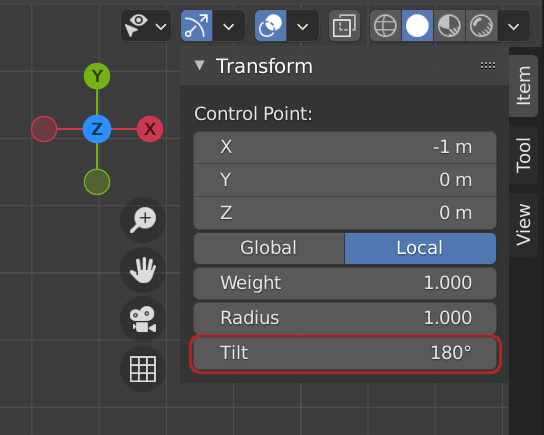
This new point will correspond to the end of the strip that will coincide with the beginning. In order to get a Möbius strip, we need to affect a 180° tilt to this new point.
Display the Sidebar:
[N]
In its "Item" vertical tab, click on "Tilt", type 180 and press [Enter]:
Add to the selection the control point located at 6 o'clock on the circle:
[Shift]+[LMB]
Join the 2 selected control points:
Control Points > Make Segment
The circle is complete again, but it's different from the initial circle, it has a 5th control point that coincides with the first, and the curve is now open.
We're now going to interpolate the Tilt for all control points, between the value affected to the first control point (0° by default) and that affected to the last (180°).
Select all control points:
[A]
Apply Tilt interpolation:
Control Points > Smooth Curve Tilt
You can check the result of this interpolation by clicking on each control point in turn, you should observe the following values in the Sidebar:
| Position | Tilt |
| 12 o'clock | 45° |
| 3 o'clock | 90° |
| 6 o'clock | 135° |
We have finished preparing the curve from which the Möbius strip will be generated.
Switch back to Object Mode:
[Tab]
Change to Camera view:
[Num 0]
To optimize the display of the camera frame within the 3D Viewport, press:
[Home]
We're now going to give some height to the curve so as to make the strip appear at last.
Follow the path:
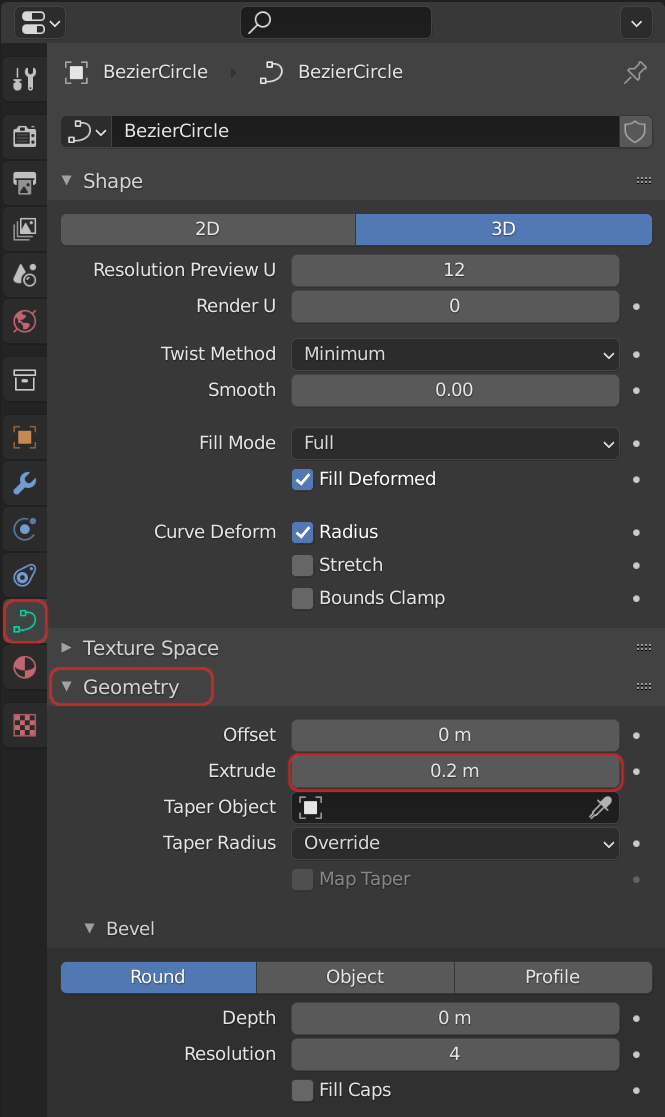
Properties > Object Data > Geometry,
click in the "Extrude" field,
type 0.2 and press [Return]:
In order to position the camera more easily:
Sidebar > "View" vertical tab > View > View Lock,
check "Camera to View":
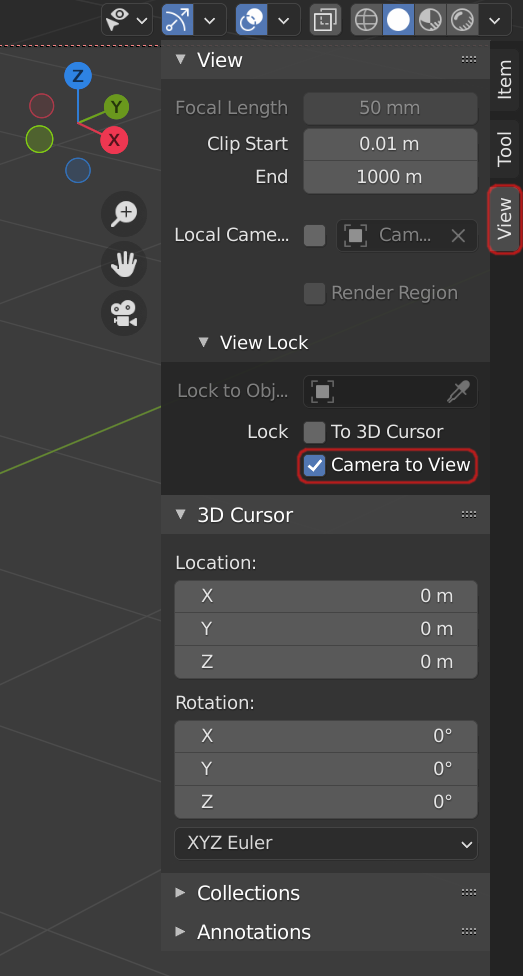
Thanks to this option, you just have to manipulate the view in order to move the camera.
Zoom into the view (you can use the mouse wheel) so as to move the camera closer to the object.
Render an image:
[F12]
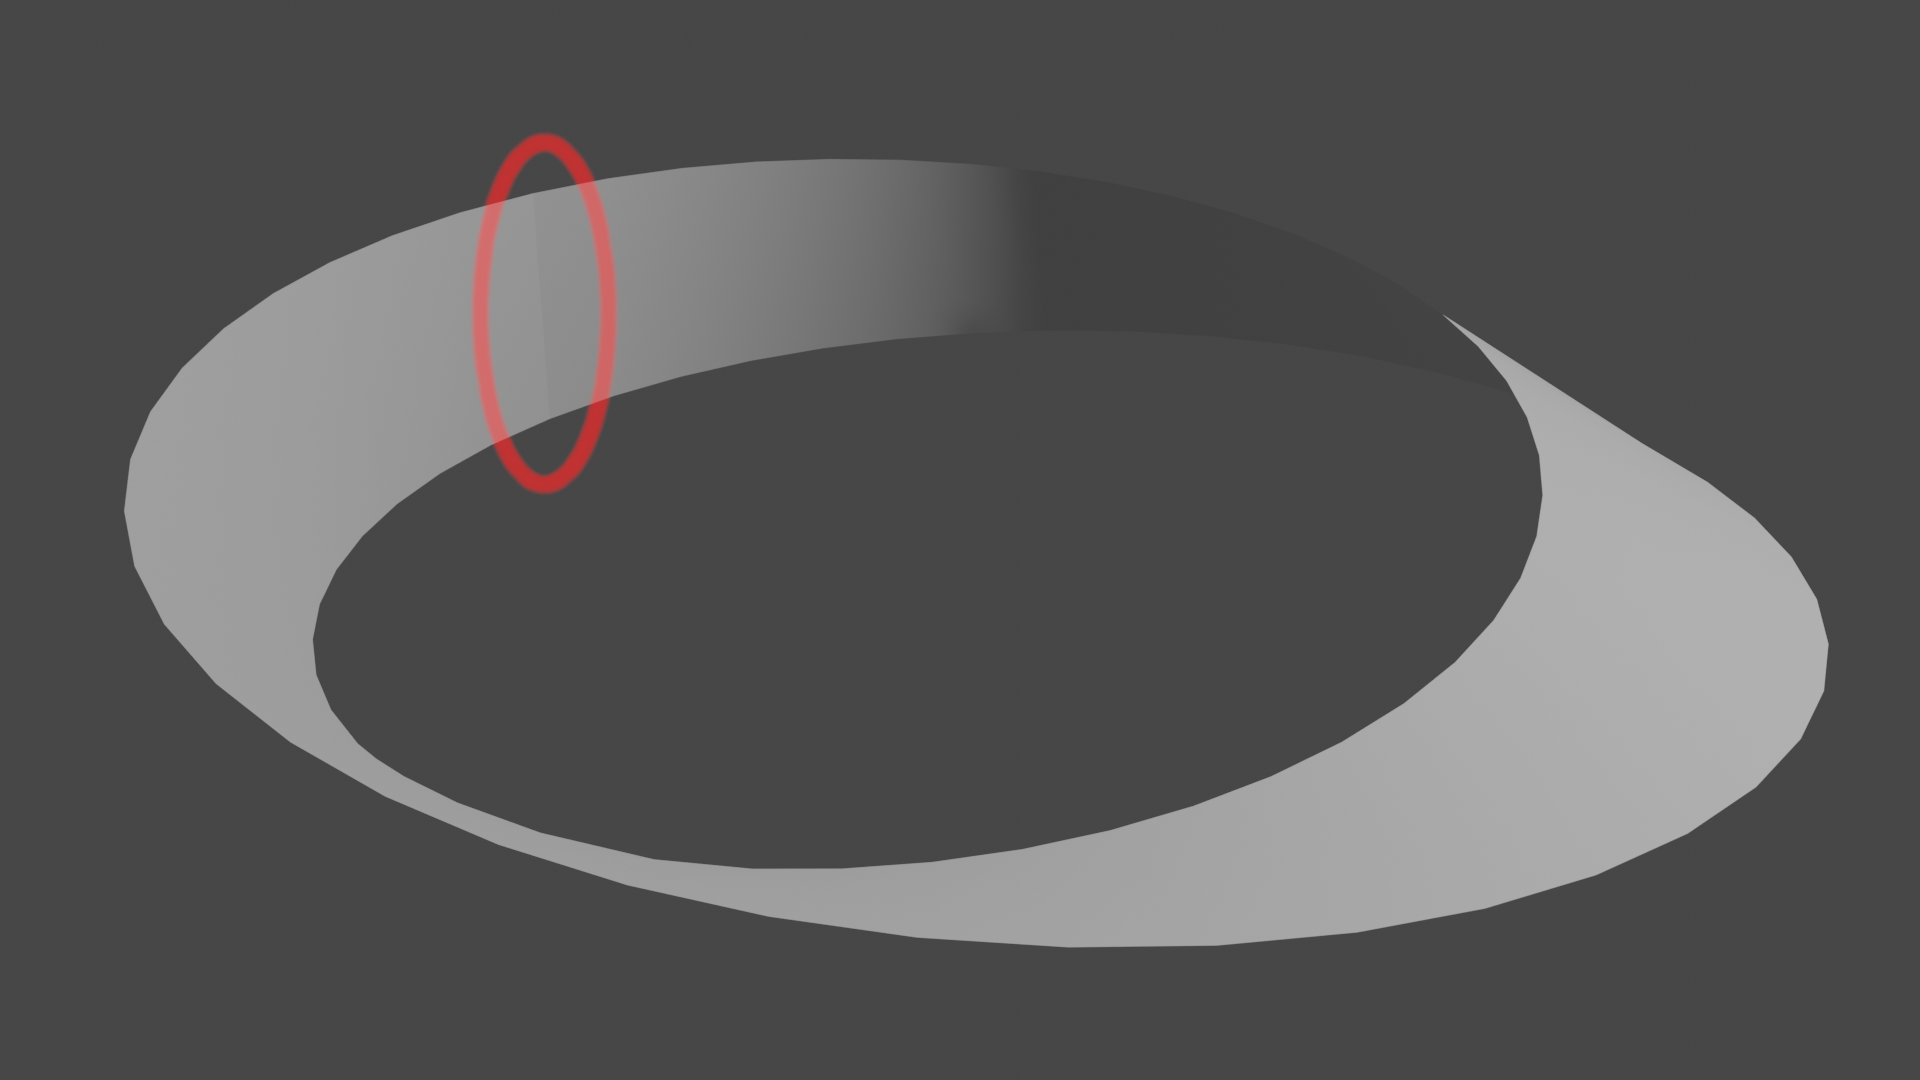
A discontinuity can be seen where the two ends of the strip join:
To close the render window, make sure the mouse cursor is inside the window, then press:
[Esc]
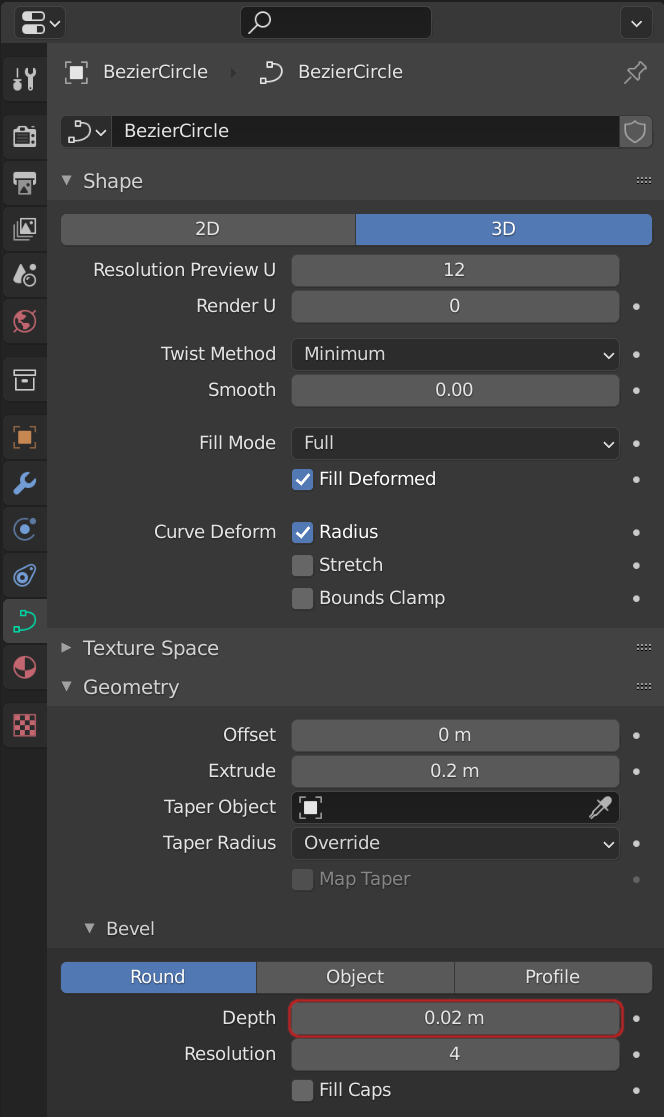
In order to get rid of the discontinuity, the first step is to give thickness to the strip:
Properties > Object Data > Geometry > Bevel > Depth,
bring the value to 0.02:
Then convert the object (currently of a Curve type) into a Mesh:
Object > Convert > Mesh
Finally, we need to merge the ends of the strip.
Switch to Edit Mode:
[Tab]
Select all vertices:
[A]
Merge vertices based on their proximity:
Mesh > Merge > By Distance
In the status bar, you should see this message appear (and disappear):
"Removed 22 vertice(s)"
Each vertex at the end of the strip coincided with a vertex at the beginning, theses pairs have been merged.
Switch back to Object Mode:
[Tab]
Render a new image:
[F12]
The discontinuity is gone!
There remains the problem of the segmentation of the object...
Close the render window:
[Esc]
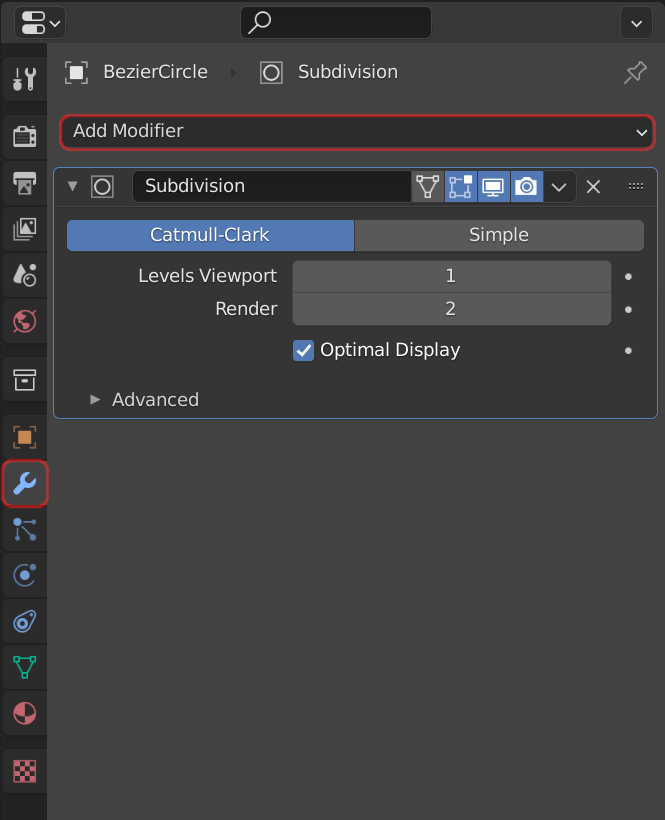
In order to smooth the mesh, apply this modifier:
Properties > Modifier > Add Modifier > (Generate) Subdivision Surface:
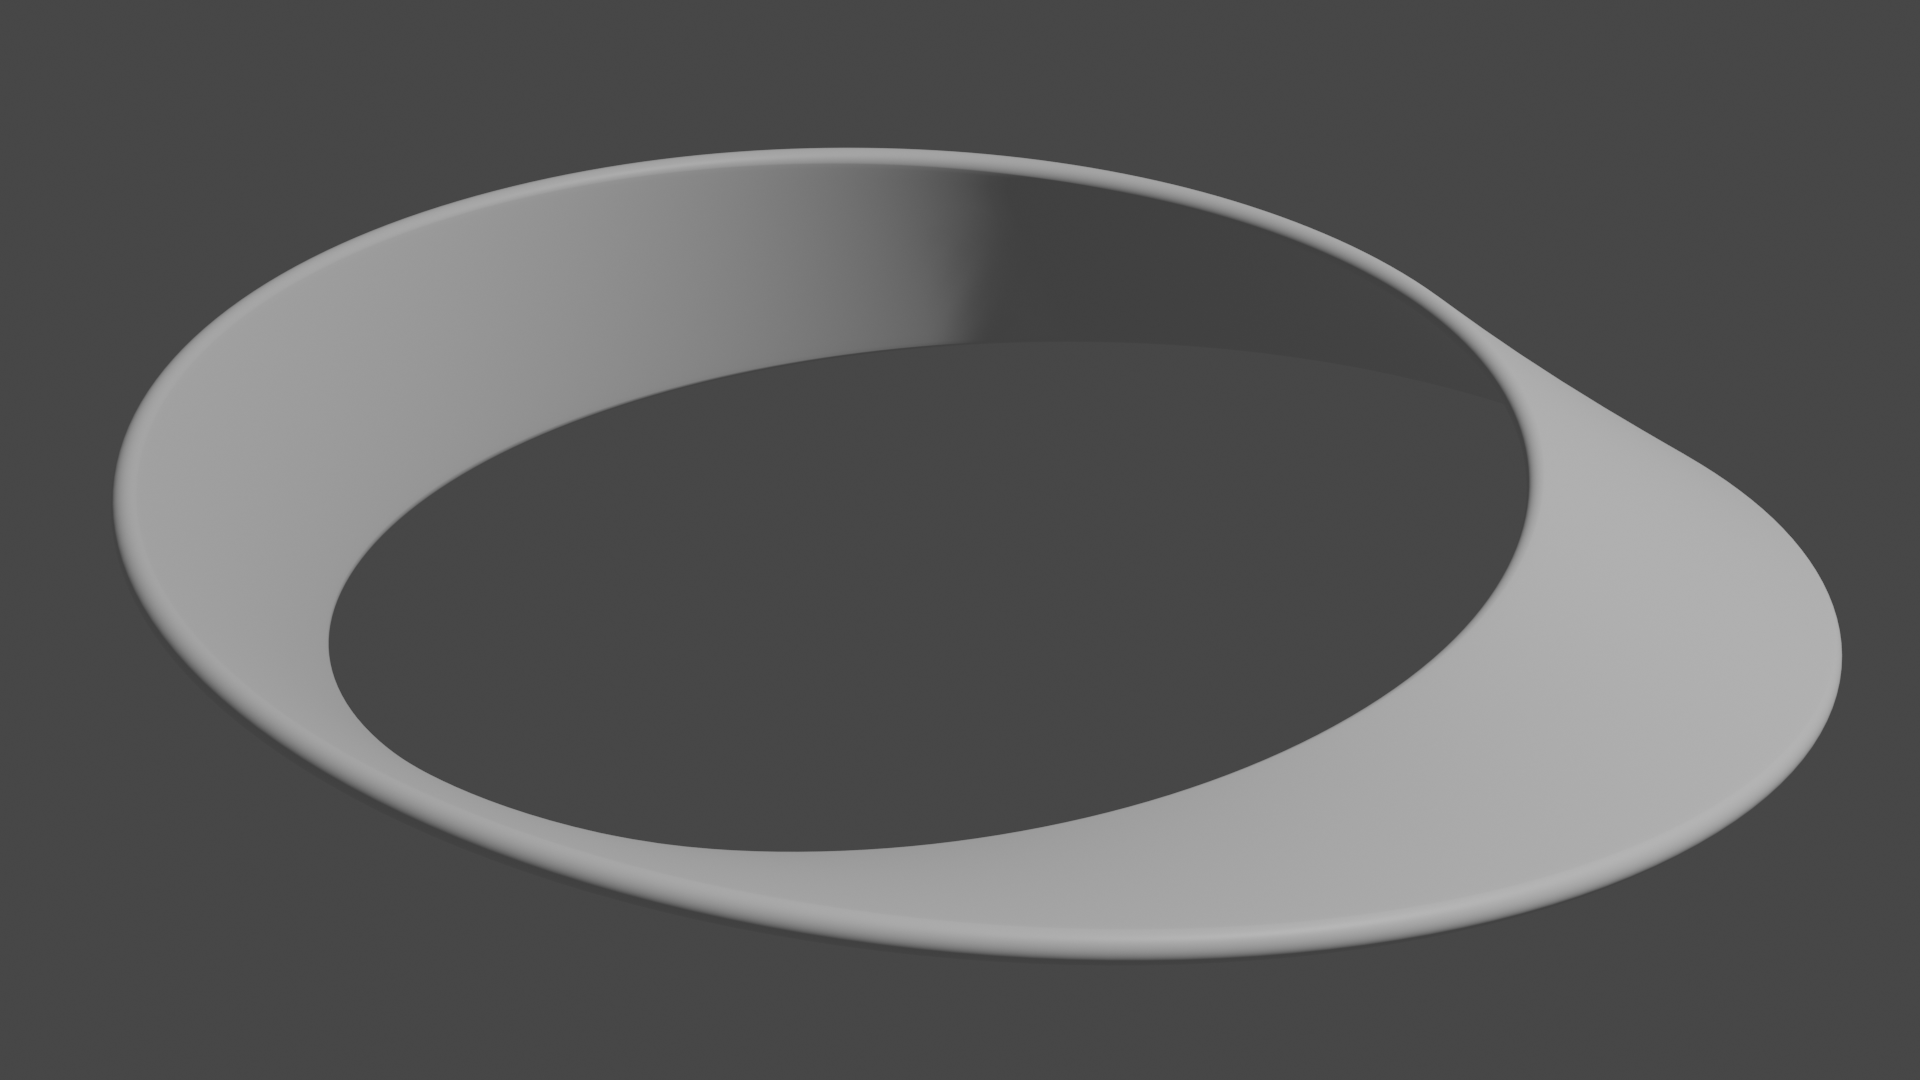
Render a new image:
[F12]
That's better:
And here is the final blend file:
Mobius_strip.blend (911.9 KiB)

